About this Site - The Terminal
I’m Back!
I’ve been planning on continuing my “About this Site” series for a while now (like over 2 months), but I guess I’ve been distracted with other things (as a high schooler does). Regardless, partly due to the prompting of a friend, here is the third installment.
Table of Contents
Inspiration
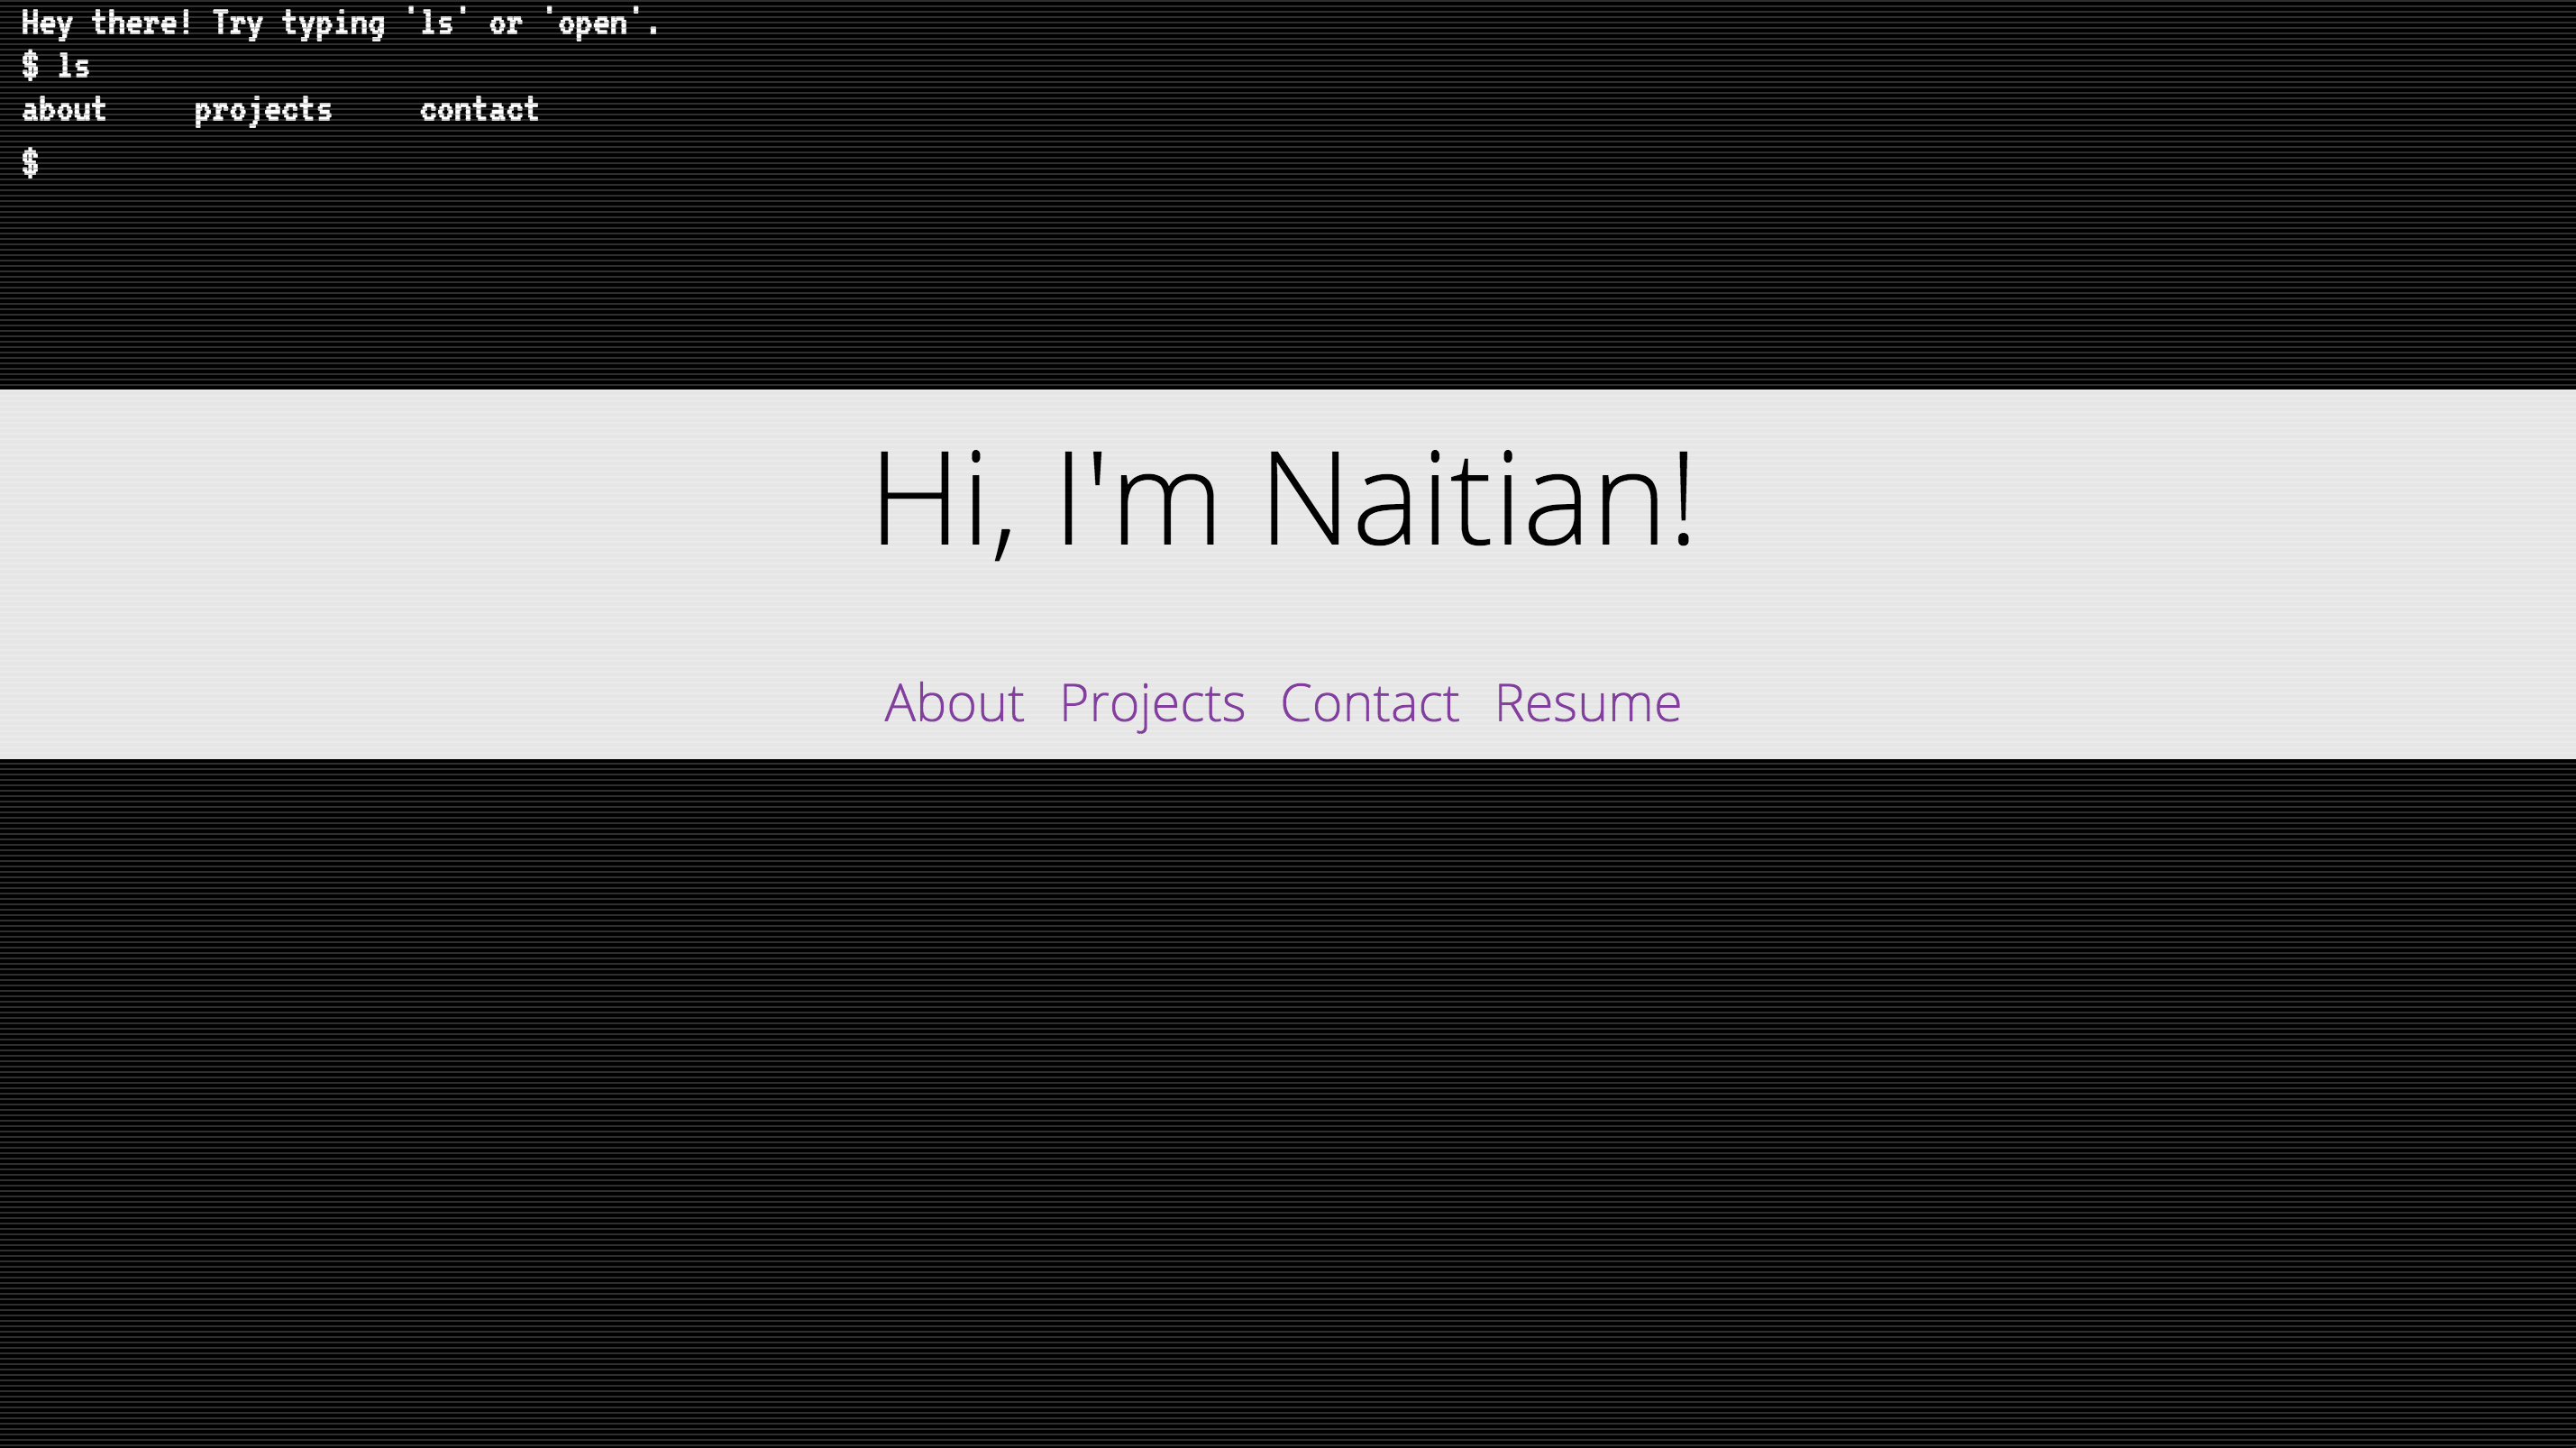
I believe I have waxed poetic about the command line before. I most definitely will in the future if I have not already. I was, therefore, kind of infatuated with the idea of a website that has a little command line built into it. This was implemented in my original website, where I even added scan lines and a subtle flicker to really drive home the retro feel.

For this refresh, though, I wanted to make something cleaner. More importantly, I wanted to make something that required very little maintenance.
Problems
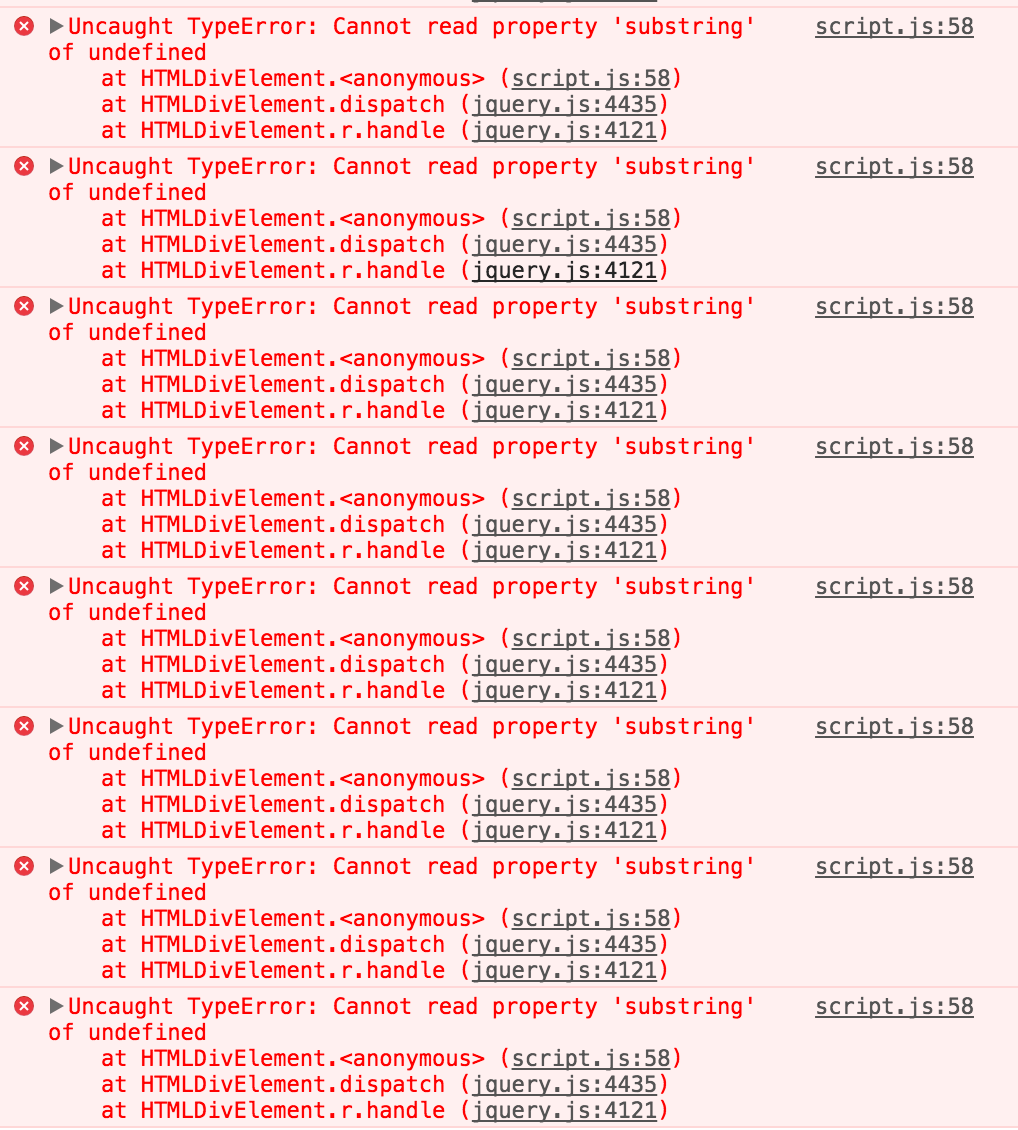
First, let’s go through some of the problems with the previous Javascript terminal. For one thing, there were errors that were straight up ignored (to be fair, this error didn’t break any functionality).

Also, just about everything, from the commands to the available files, was hardcoded. This meant if I were to add a new section to my site, I would have to manually update that code. What a drag. It ended up with code that looked like this:
if (parsed.cmd === 'open') {
var target = '#' + parsed.arg;
$.smoothScroll({
scrollTarget: target
});
} else if (parsed.cmd === 'ls') {
out = 'about     projects     contact';
} else {
out = 'That command is not yet supported. Try ls or open.';
}
Ewwwww.
Specs
So for this new and improved terminal, I wanted several features:
- Better design (this meant a visible, blinking cursor)
- Procedurally generated files (this proved to be the most challenging)
- Extensible command system (I used ES6 classes for this)
Let’s Get Down to Business
We’re not going to defeat the Huns, but we are going to make our new and improved terminal.
Better Design
Okay, so this one is kind of vague. I mocked up the design, which was heavily inspired by my actual terminal.
The most difficult part was probably hiding the cursor and replacing it with a block cursor. I still don’t have a perfect implementation - in case you didn’t realize, you can’t actually move the cursor around on the line. It just stays at the end of the line.
The thing about the cursor (or caret, if you’d like) is that it is always the same color as your text. There’s no way to style it individually. The trick here is to make the text transparent. Then, just add a text-shadow with your text color and no offset. This keeps everything the same except for the caret, which is now transparent!
#input {
    color: transparent;
    text-shadow: 0 0 0 #0EFF1F;
}
Wow!! Nice.
Another big problem was making scrolling work nicely. This was more difficult
than you would initially expect, because the input is a contentEditable div,
while the rest of the text is a separate div. A couple of overflow rules did
the job nicely, though.
Procedural Generation
This is the cool part! My biggest gripe with the old implementation was how much was hardcoded. I wanted to be able to more or less browse the entire site with the terminal, so hardcoding everything was not a viable option.
This means I needed an API or something to query for all of the different parts of the site. Fortunately, I have Jekyll!
Here’s the amazing thing about Jekyll: it can generate any document. This includes not just Markdown or HTML files. The trick is to use Jekyll to generate a JSON file with information about the website.
mind = blown
Here are the entire contents of terminal.json, which is the relevant JSON
file:
---
---
{% capture nl %}
{% endcapture %}
{% assign files = site.documents %}
{% for page in site.html_pages %}
{% assign files = files | push: page %}
{% endfor %}
{
    {% for page in files %}
    "{{ page.url }}": {
        "content": "{{ page.content | replace: '"', "'" | normalize_whitespace}}"
    }{% unless forloop.last %},{% endunless %}
    {% endfor %}
}
That’s all there is to it. This generates a JSON object of all of the pages in the website, with the url as the key and including the content as the sole property of each page.
You end up with a JSON file looking like this.
Now, this is still not wonderful, because all we have now is a bunch of file paths. This doesn’t encode information about what is and is not in the current directory.
So I added a pwd variable. I now realize pwd stands for “print working
directory”, so it doesn’t really make sense to name a variable that, but in my
mind, it just means “our current working directory”, and ocwd just doesn’t have the same ring to it. I use this to keep track of where in the tree I am at the moment
I then search down the list of files to see which paths are direct children of
the pwd.
Everything else is pretty straightforward: I just inject the content of the
selected path.
This is what gets me the procedurally generated functionality of the terminal. That’s not all I wanted though; I wanted it to be even more dynamic. I wanted the terminal to be extensible, so that I would be able to add new commands really easily.
Well then. Let’s get started.
Extensibility
I decided on using ES6 classes to organize the JavaScript into a self-contained unit.I’ve experimented with this before to some success.
The actual implementation was very strightforward. I basically have a map of possible commands mapped to the functions that they call. All of the commands have access to the instance variables. Easy, clean stuff.
Wrap-up
So I guess that sums up the tech componenet of the terminal easter egg. Even though it was just an easter egg, it was probably one of the things I spent the most time on, just to get everything working okay.
Improvements
There are still some improvements to be made; some (obviously) less trivial than others.
- I want tab completion.
- I want to be able to register new commands outside of the actual class
- Lists extend horizontally, not vertically.
Overall, I’m really happy with how it turned out, though, and I think this is a great foundation to keep building on.